Facade Maker
Automate facade modeling for Autodesk® Revit®, create profiles, panels, and anchors automatically with Facade Maker.
This tool allows you to define upper glazing boundaries by meticulously editing flattened surface families and incorporating your chosen profiles, materials, glass thicknesses, and anchoring systems into a comprehensive facade model.
Prerequisite: PRIME BIM - Import To Family
To take advantage of the capabilities of our add-in, you will need our PRIME BIM - Import To Family add-in, which makes it easy to import flat surfaces drawn in Rhinoceros, SketchUp, or your external 3D program directly into Revit as Families. Before you begin this process, you must use our 'Import to Family' plugin to import your flat surfaces. Select your generic models families with only one flat surface inside. Edges of the surfaces can be lines or arcs. Each edge must be a single piece curve.
How to Use Facade Maker
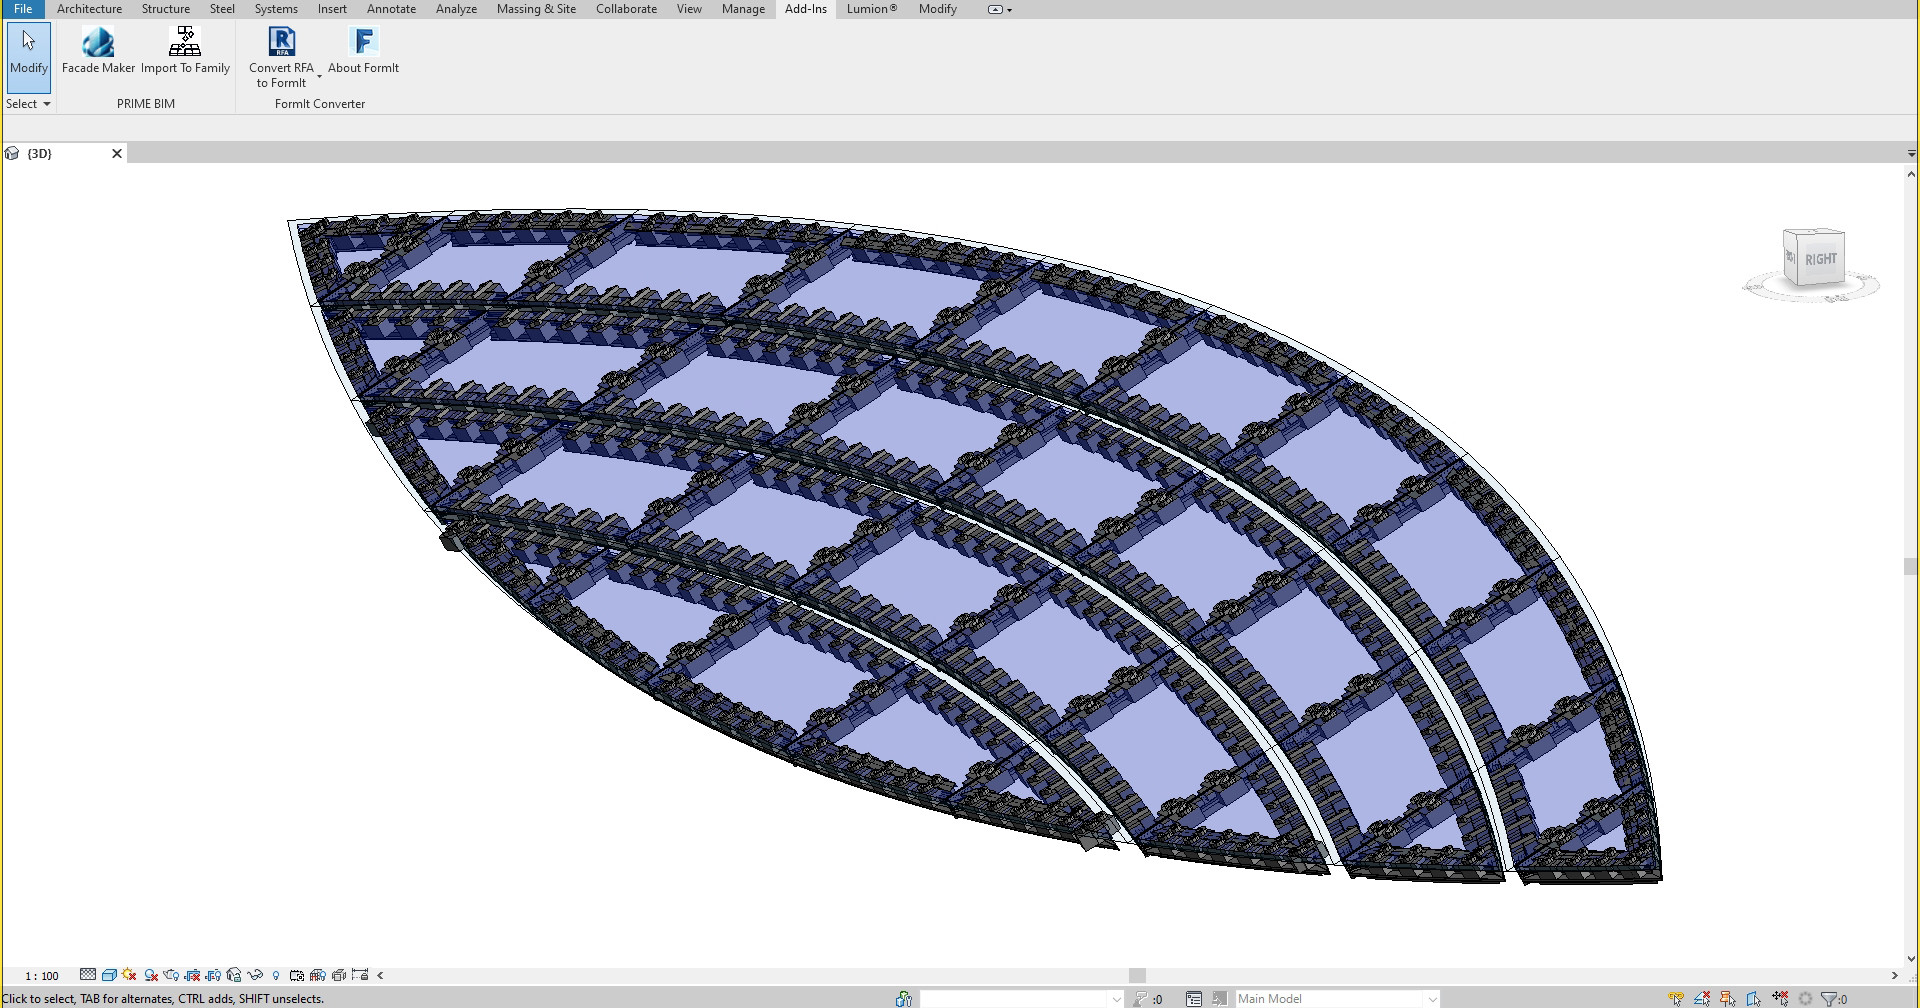
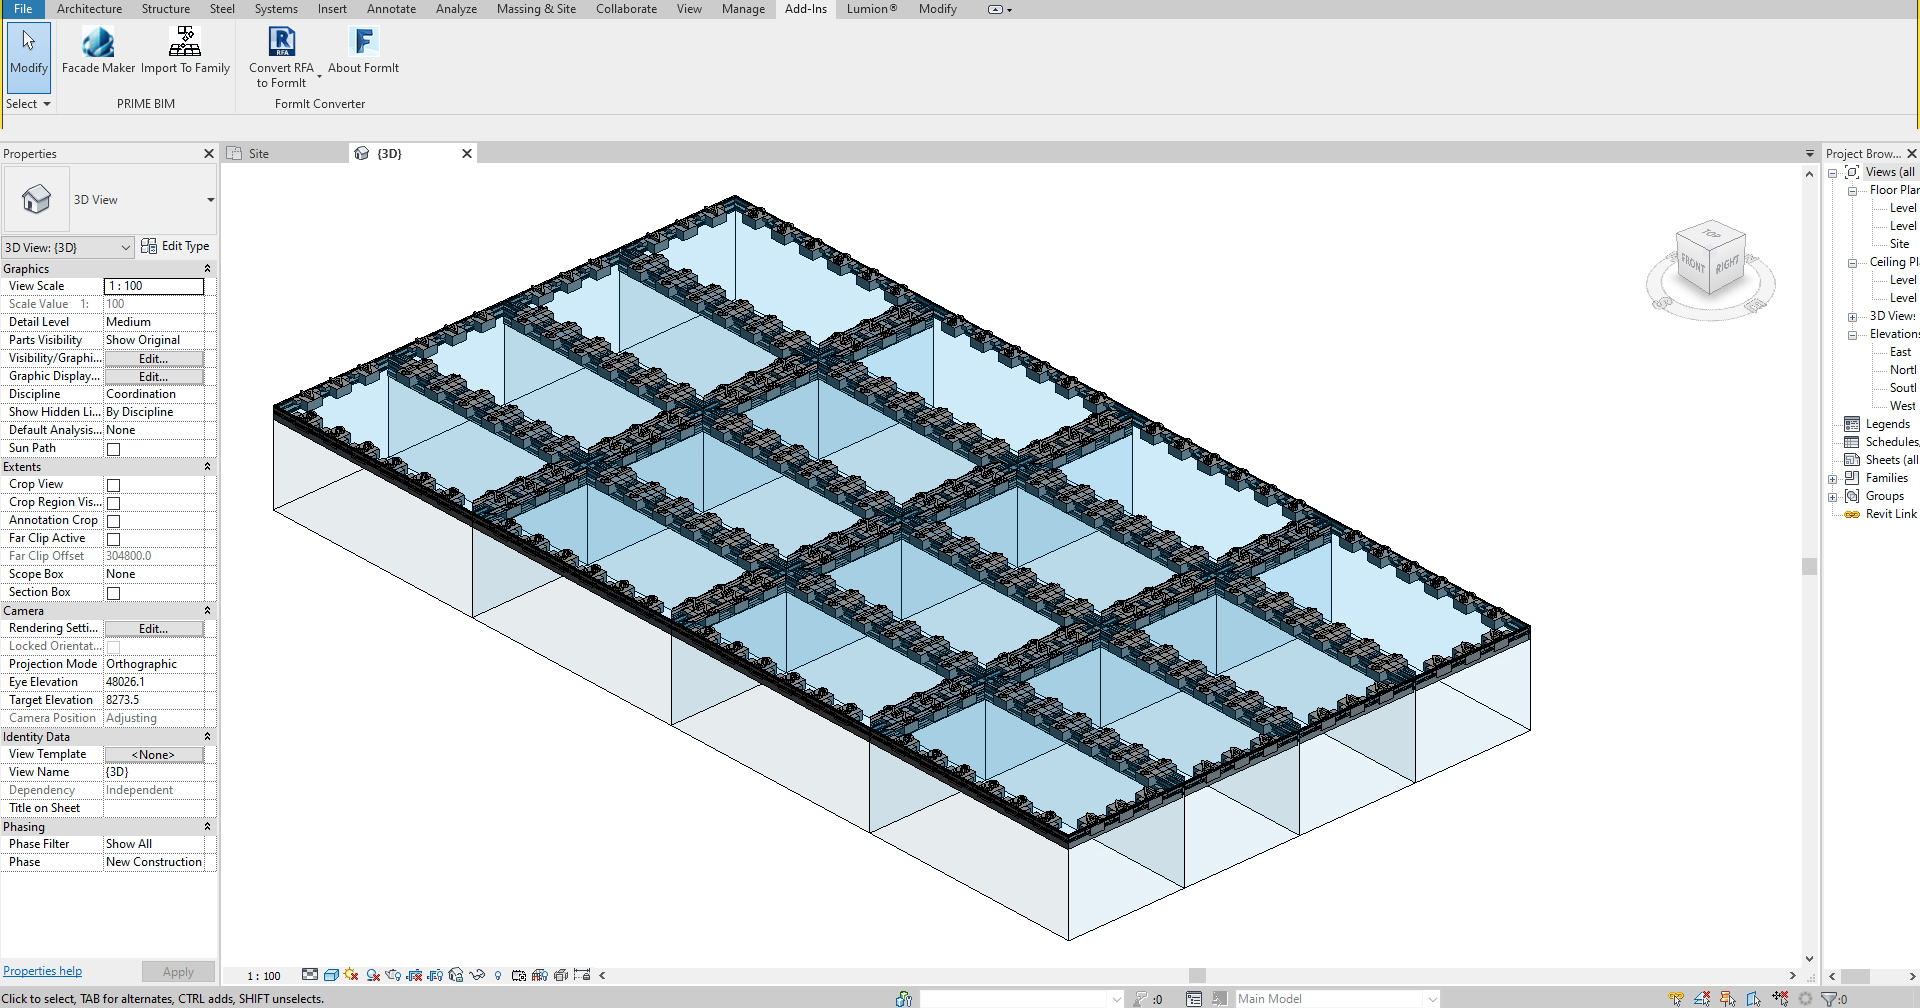
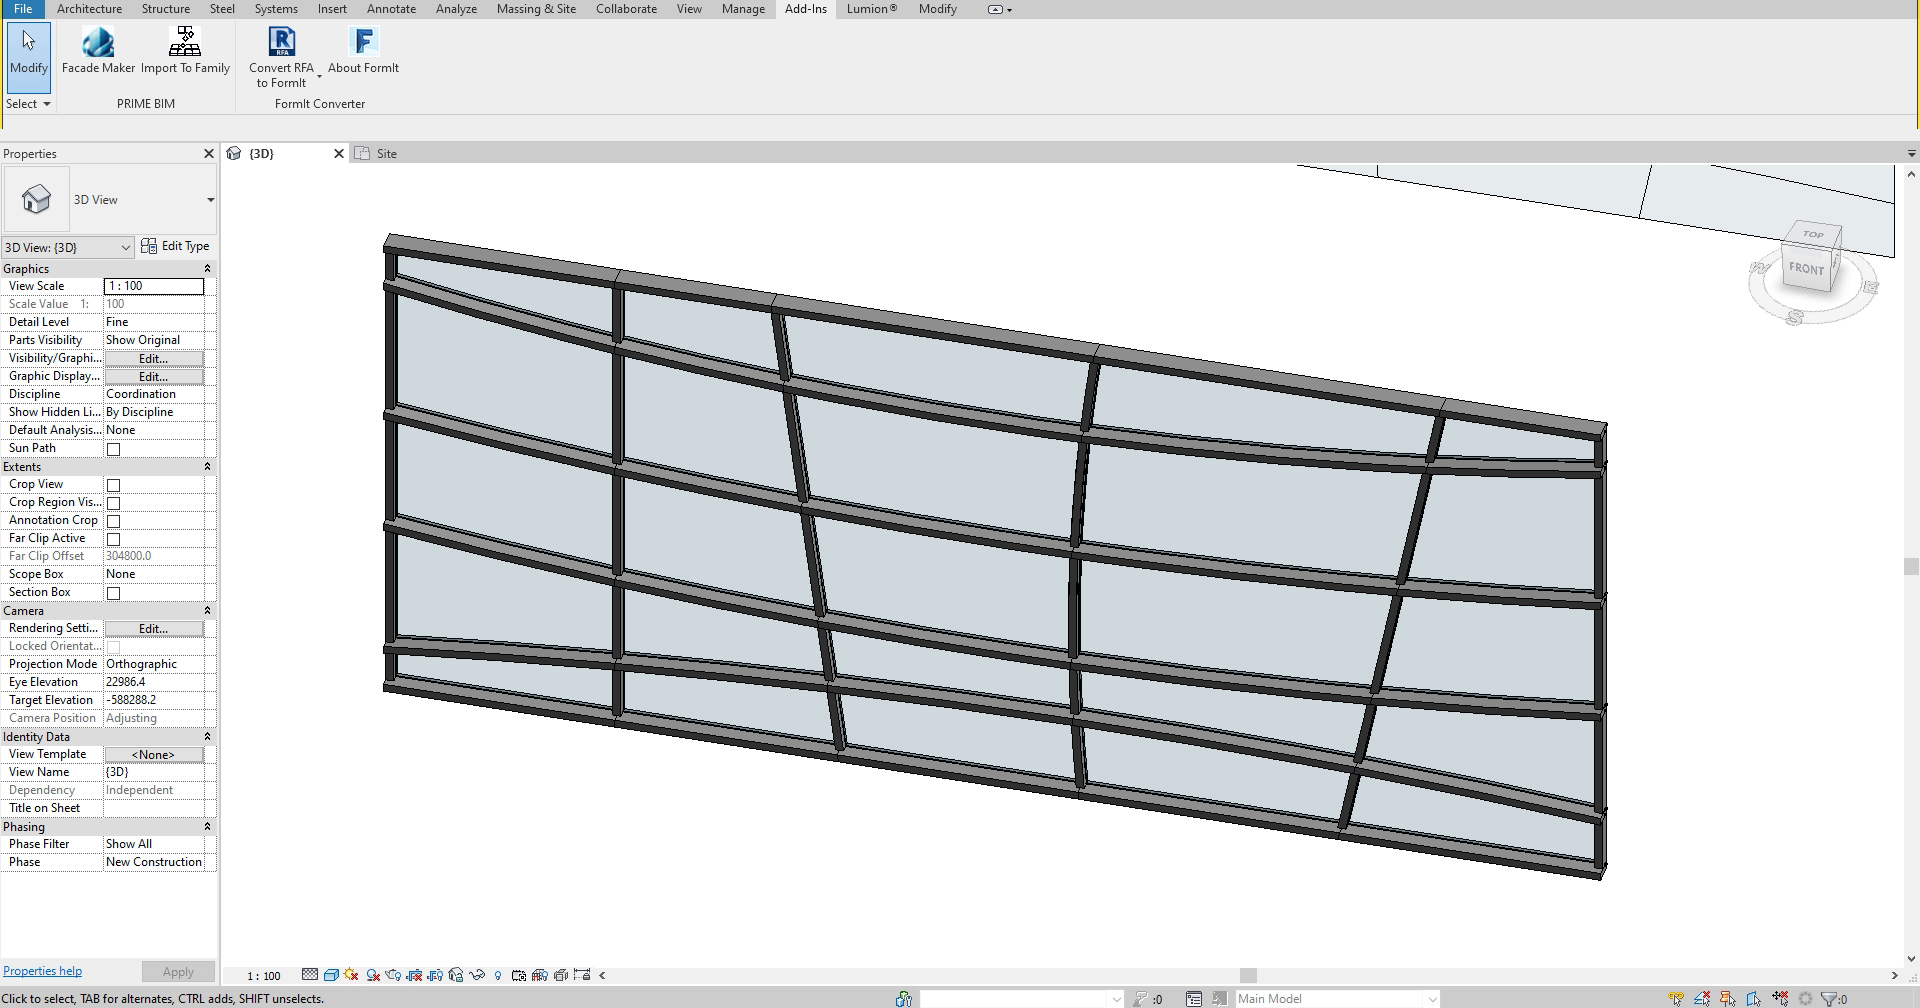
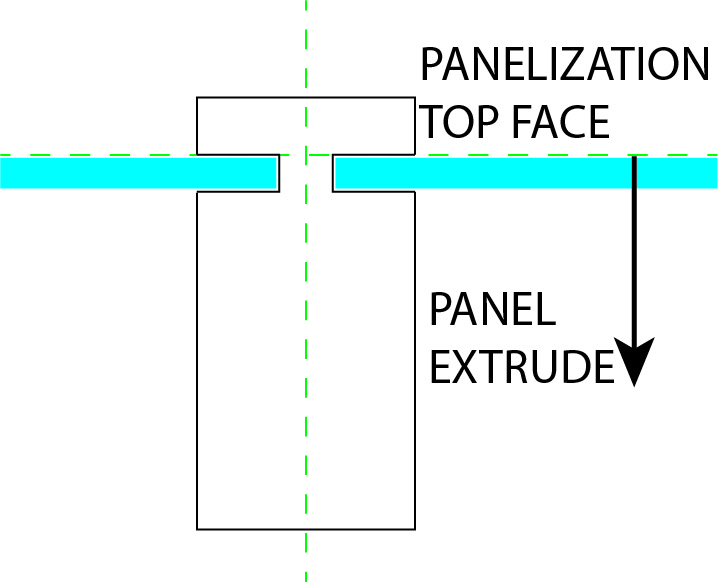
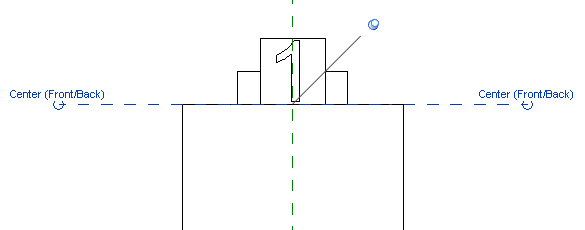
Make sure that your surfaces are flattened and suitable for facade production, and that their edges are in the form of lines or arcs. Please make sure that your original surfaces and the surfaces you will obtain after offset have the same number of edges. Since panelization represents the front face of the facade, the orientation of these surfaces (which can be observed in Rhino using the 'dir' command) determines the extrusion direction for the panels. Profiles and anchors are then placed accordingly.
Type Tab
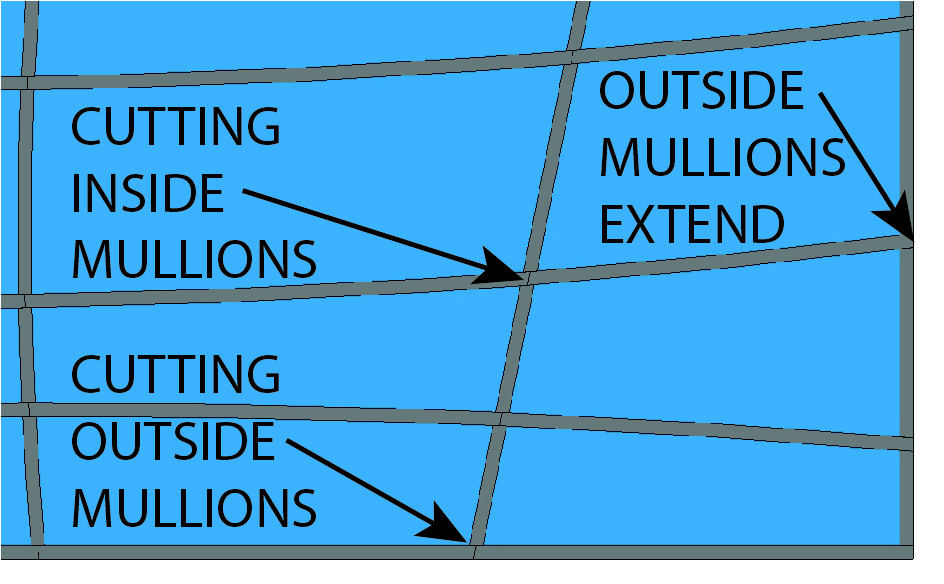
Cross Type: Overlays each panel in the panelization process with profiles and joins them at bisector intersections.
Straight Type: Marks the creation of Direction2 intermediate profiles while maintaining a continuous main profile axis (Direction1). You specify these directions to create the main axis sequence, which can be controlled using the undo function in Revit.
Edge Tab
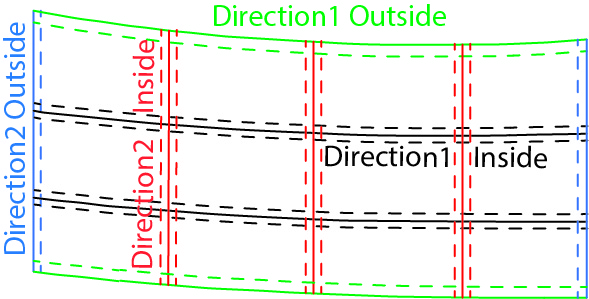
Facades consist of two main direction systems that can be orthogonal or set at various angles. Choose the method that simplifies the edge separation of your facade (Direction1 and Direction2):
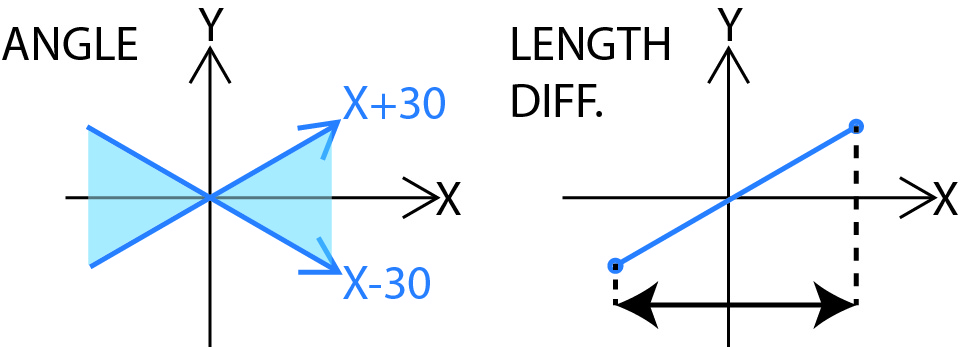
- Angle Method: Select a master direction (x, y, z) and enter an angle in 'Angle for Direction1' to assign the edges in this angular range to Direction1. Reverse selection is available.
- Length Difference Method: Measures edge lengths along the selected axis direction, assigning edges that exceed a certain threshold to Direction1 and the others to Direction2, with the option to reverse this logic.
Offset Tab
Input values to offset the inner and outer edges of the façade differently in each direction. In Straight Type, it only moves panels and anchors. In Cross Type, it moves mullions, panels, and anchors.
Mullion Tab
Assign different profile families for each direction and edge position, and decide on family names and materials that can be created in advance or set after facade creation. You can also use the add-in to create mullions only. If the profile drawing that you want to be created as a mullion is too detailed, it may cause errors in the mullions to be created, especially the arcs. This add-in only works using the tools of Autodesk® Revit®.
Panel Tab
Define thickness, naming and materials for your panels, choosing from glass, composite, aluminum, terracotta, marble, ceramic, wood, etc. You must work with the Profile Family RFA file. You can also use the add-in to create panels only.
Anchor Tab
Work with four different family RFA files for anchors created as face-based generic models, define the axis spacing and distance from corners for maximum anchor placement. You can create your anchors at any angle, distance, height, and position. If sufficient length is not found, one anchor is created in the center of the edge. Make sure that you have not accidentally selected anchor instead of profile. If the midpoints of the edges intersect, these edges are considered as Inside Edges.
You can also use the add-in to create anchors only.
You can work only with mullions, panels, or anchors.
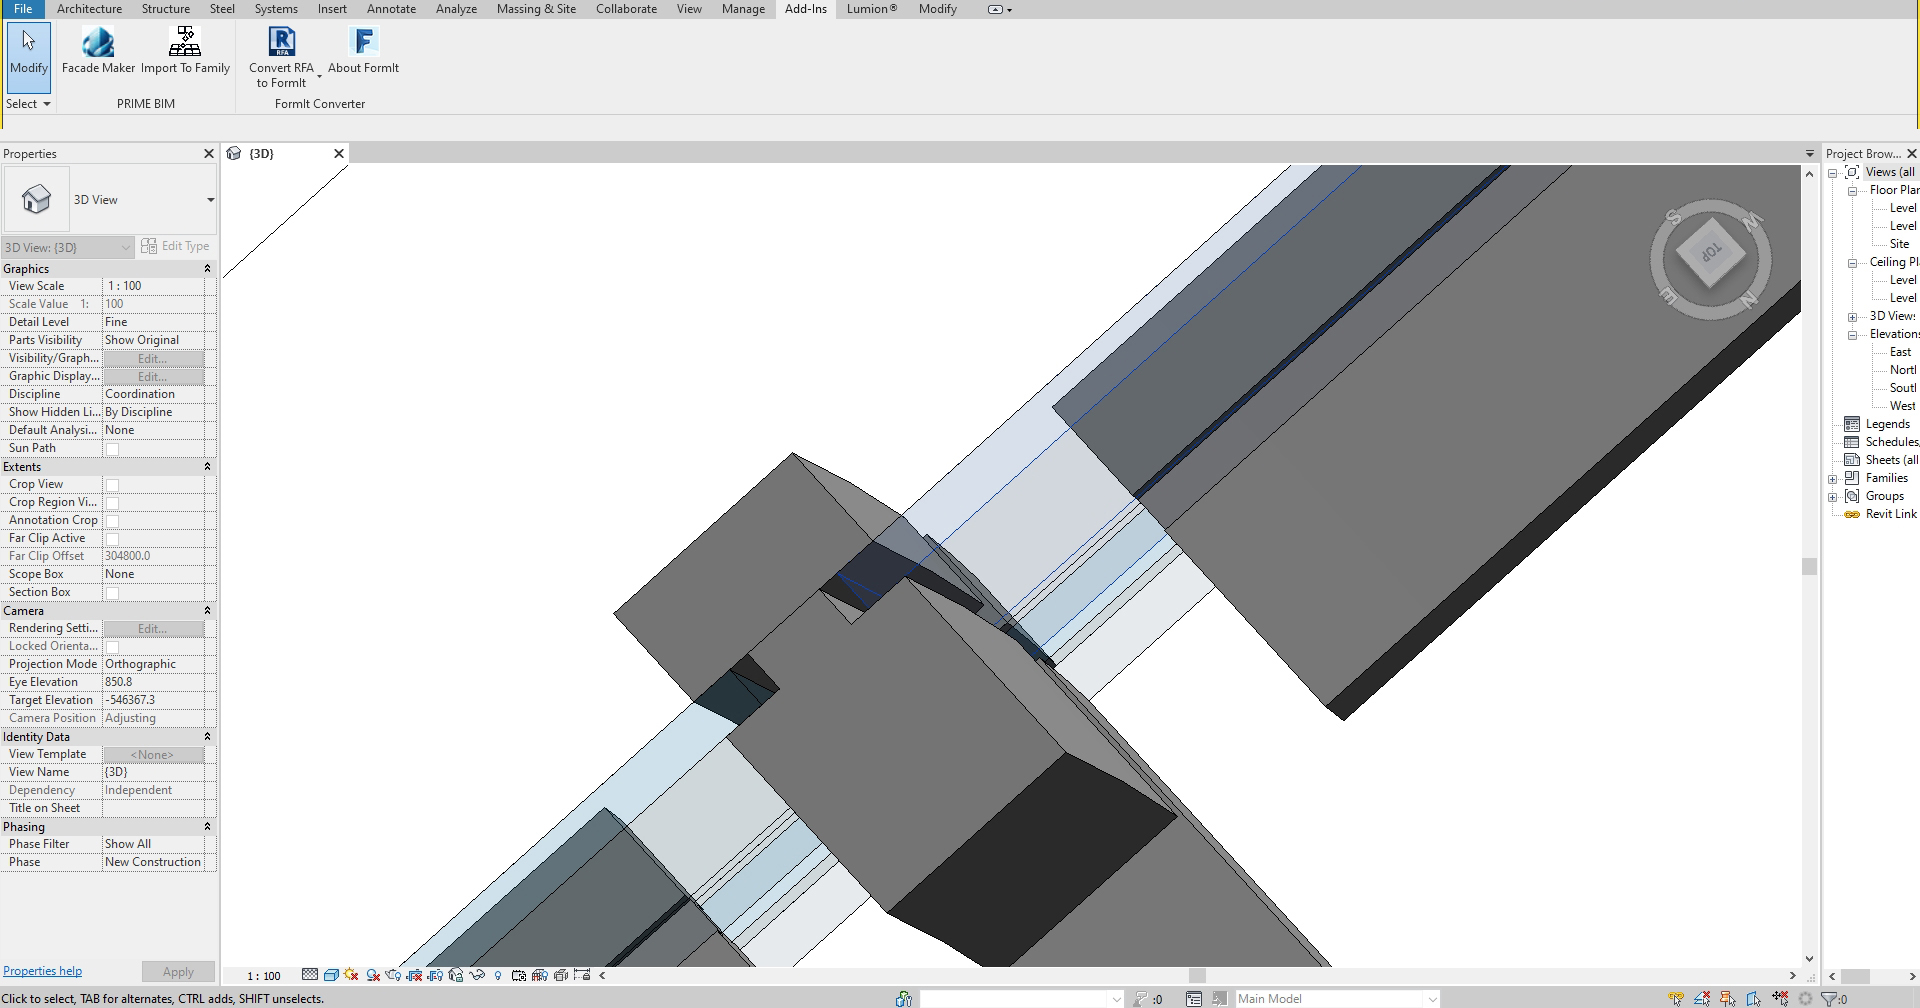
The warning "Ref Plane is slightly off-axis and may cause inaccuracies" indicates non-orthogonal edges, a natural message for surfaces that are not aligned with Revit's major axes. It is not an error indicator for your facade.
Rigorously tested and stable, this plugin only supports flattened surfaces. These surfaces can be at any angle.
Make sure that each family file contains a single surface.
Make sure that each of your surfaces is flattened and each edge is a solid arc or line.
Keep in mind that you will get an error if the offset values you enter distort the original shapes of your surfaces and make them overlap with themselves.
Installation/Uninstallation
The installer that ran when you downloaded this app/plug-in from the Autodesk App Store will start installing the app/plug-in. OR, simply double-click the downloaded installer to install the app/plugin. You may need to restart the Autodesk product to activate the app/plug-in.
To uninstall this plug-in, exit the Autodesk product if you are currently running it, simply rerun the installer, and select the "Uninstall" button. OR, click Control Panel > Programs > Programs and Features (Windows 10/11) and uninstall as you would any other application from your system.
Contact
Support Contact:
Custom Development
Need a specialized facade solution for your unique architectural challenges? Our team can develop custom Revit® applications tailored to your specific requirements, helping you achieve designs that standard tools can't handle.
For custom development inquiries: